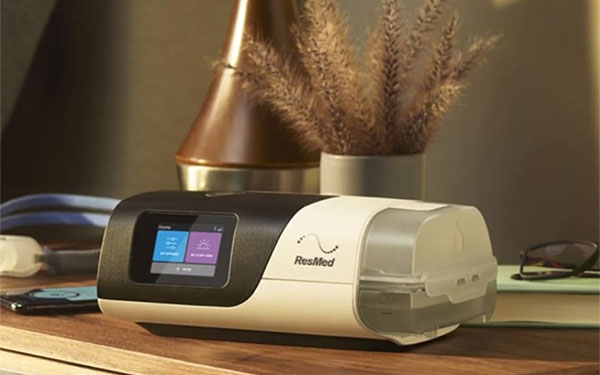
AirSense 10 Unit Humidifier
Power Supply Unit Heated Tube
How to set up your AirSense 10 Device
Step 1. Place your AirSense 10 unit on a flat and stable surface. Lift up the lid of your humidifier tub. Using distilled or tap water, fill your humidifier to the ‘max’ line.
Step 2. Connect the tubing to the mask & machine. Heated tubes have a slot for the power chip to be connected.
Step 3. Plug the power supply unit into the wall and into the back of the CPAP machine. Ensure that the cord is connected properly at the transformer.
Step 4. Press the on or power button to begin and stop therapy.
Note: When finished with your therapy, ensure you leave the power point switched on so the machine will send your data to us.
How to clean your AirSense 10 Device
By making sure your AirSense 10 device is regularly cleaned and well maintained you can improve the lifespan of the device and equipment. Click here for instructions on how to clean your equipment, clean your mask and replace your filter.

How to read your AirSense 10 Report
The screen of your AirSense 10 device will show you a summary of how your therapy went overnight. To understand and to learn how to interpret this information, Click here.
Your ResMed AirSense device has the ability to send data to a CPAP outlet to interpret your data. Furthermore, your CPAP outlet can send changes to your device remotely. At Sleep Right Australia we can provide these services for you even if you bought your machine elsewhere.


how can I change the humidity ? I cannot find the climate control option on Air Sense 10
Hi Paul, ensure that your tube is plugged in at the back when having a play with the humidifier settings. See this video to help with AS10 humidifier settings; https://www.youtube.com/watch?v=r0TdaHlqJr4